We have been making lots of lovely sourdough recently. It helps having four in the house, including three large lads that enjoy their bread. Various flavours: plain white, white with various amounts of rye flour, some spelt, mixing in some linseeds, and now we have some wholemeal which we are looking forward to trying. Lyle is keen to try and recreate the lardon (little bacon bits) bread that they make in some of the local Boulangerie’s but Rob is not quite game enough to take on the local “baguette tradicion” which is the house lunch baguette of choice. So there are plenty of bread adventures still to be had in the next 6 weeks (can you believe that is all we have left of our season to go… it is sneaking up so quickly).
We have had some very interesting things happening with our sourdough and Frank (the sourdough starter) whilst in the snow. The first is a favourite. Our balcony is a fridge. Close to zero degrees next to the house walls, it is perfect for putting almost all our food out to chill. Our apartment (probably like most ski chalet apartments) has a ridiculously small fridge. It is good for keeping the milk for the tea in the morning, but that is about it. Frank sleeps out on the balcony very happily too. We pull him in to make bread, give him a feed, then put him back out to rest. It is also great for retarding the sourdough. We have been reading more about retarding which is raising the bread in a very cool location (normally fridge, but the outdoor fridge works perfectly). It seems that you can let the bread rise, knock it back repeatedly, and then finally let it rise in the banneton (see photo below – it is a wicker basket which is lined with rye flour to allow the sourdough to hold it’s shape). What we have found through our trial and error of making bread, it seems that if your timings suddenly aren’t working (friend calls and invites you for dinner when you are meant to be baking) the sourdough happily will retard in the cold for a good period of time without too many adverse effects (we have pushed it over 24hrs). The sourdough develops it’s “sour” taste from this retardation process, so the longer you allow it to retard, the more “sour” or tangy it will taste. We have also done this prior to the final rise and it seems to be ok. Just pull it in and let it warm up for a couple of hours prior to putting it in the oven.
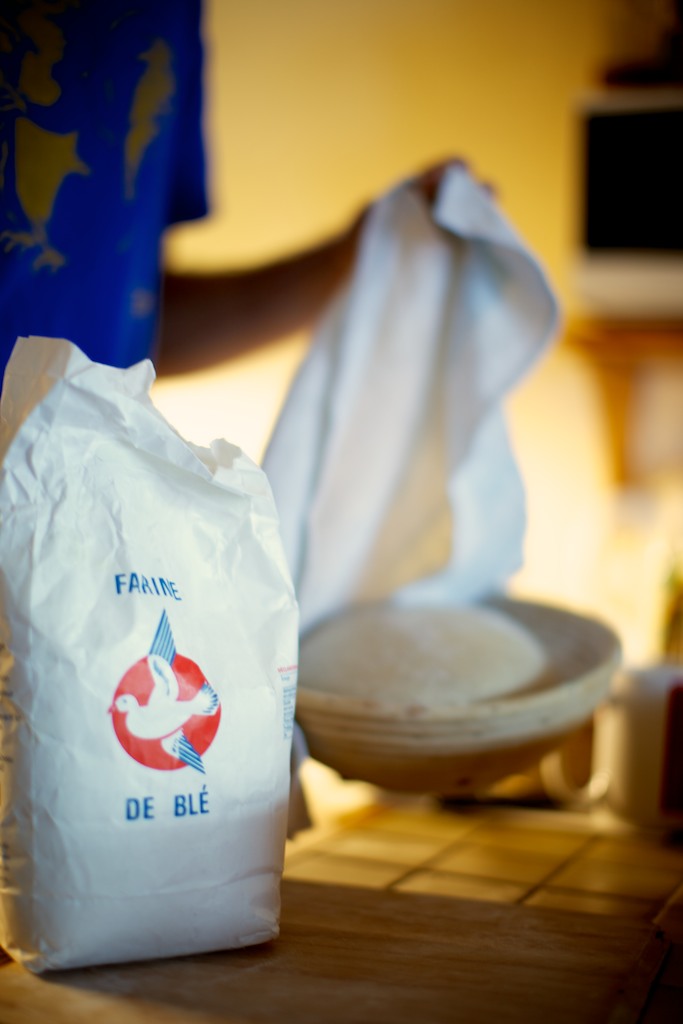
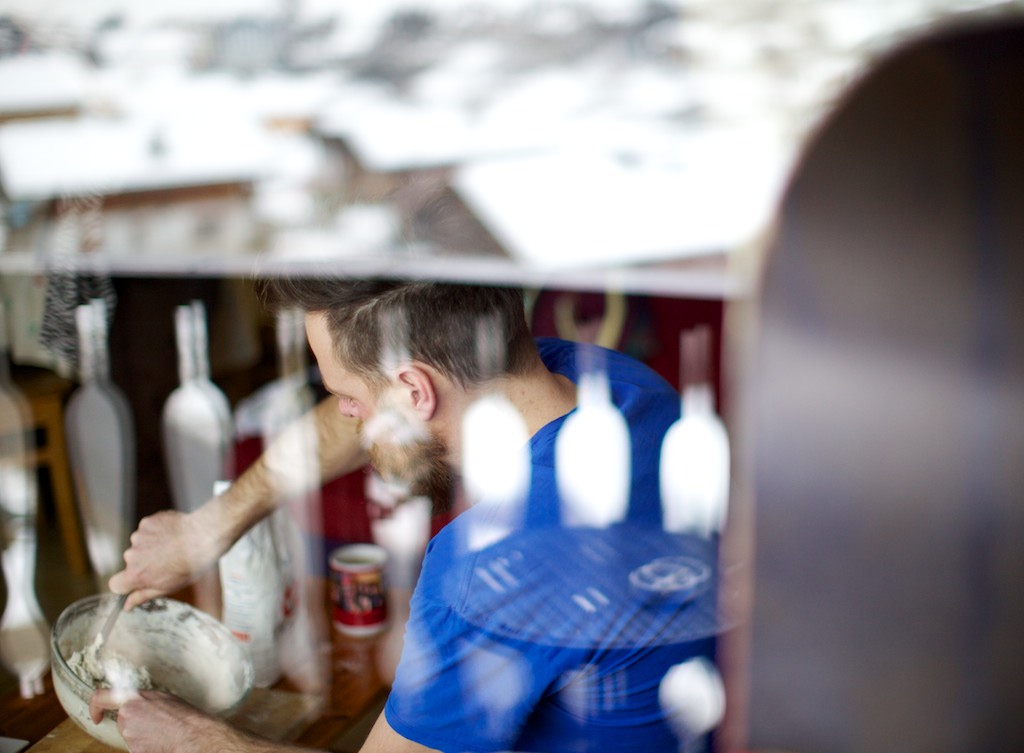
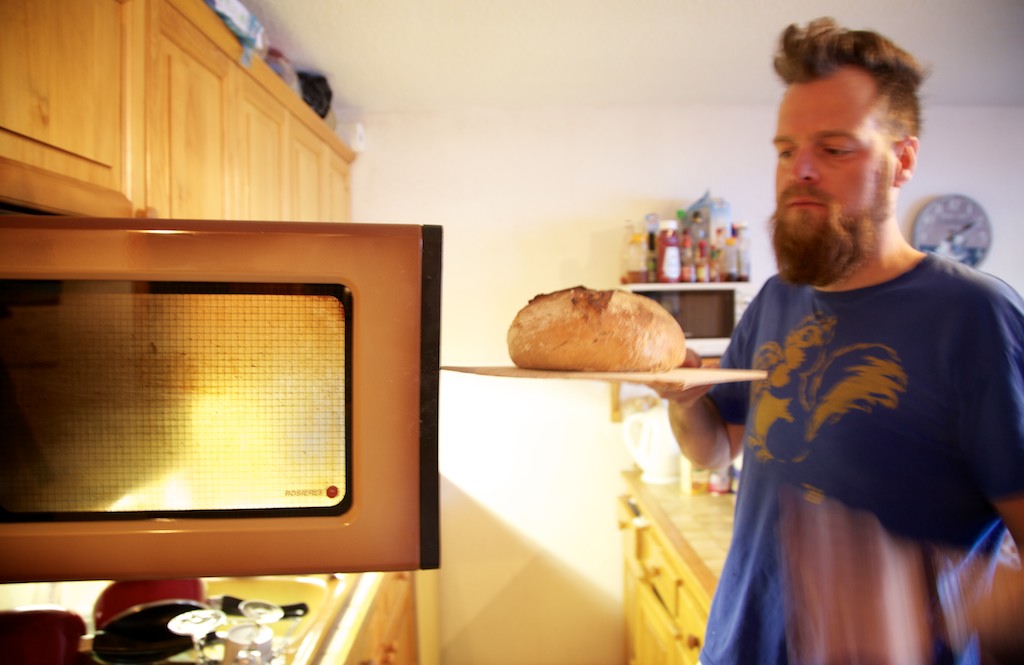
This week we have our very good Manchester friend, Addy B, visiting us in Morzine. Just happens that he is also a professional camera-man. Addy is keen to learn how to make sourdough (as he has been a recipient of quite a few loaves while we were in Manchester). We came to a good compromise. If he shot photos of Rob going through the process, he could also learn at the same time how to make it. So here we have the sourdough photo-shoot, starring Rob, Frank, and a little cameo from a (very) nice organic French rye flour..
Recipe adapted from River Cottage Handbook No.3 – Bread by Daniel Stevens (due to size of our little French oven).
Makes 1 loaf
For the Sponge
250g flour (white)
325ml warm water
A slurp (ladleful or bit more) of Frank (sourdough starter)
For the dough
13g (or so depending on how salty you like bread) fine slat
300g flour (mixture of your favourite – white, wholemeal, rye, spelt, seeded etc)
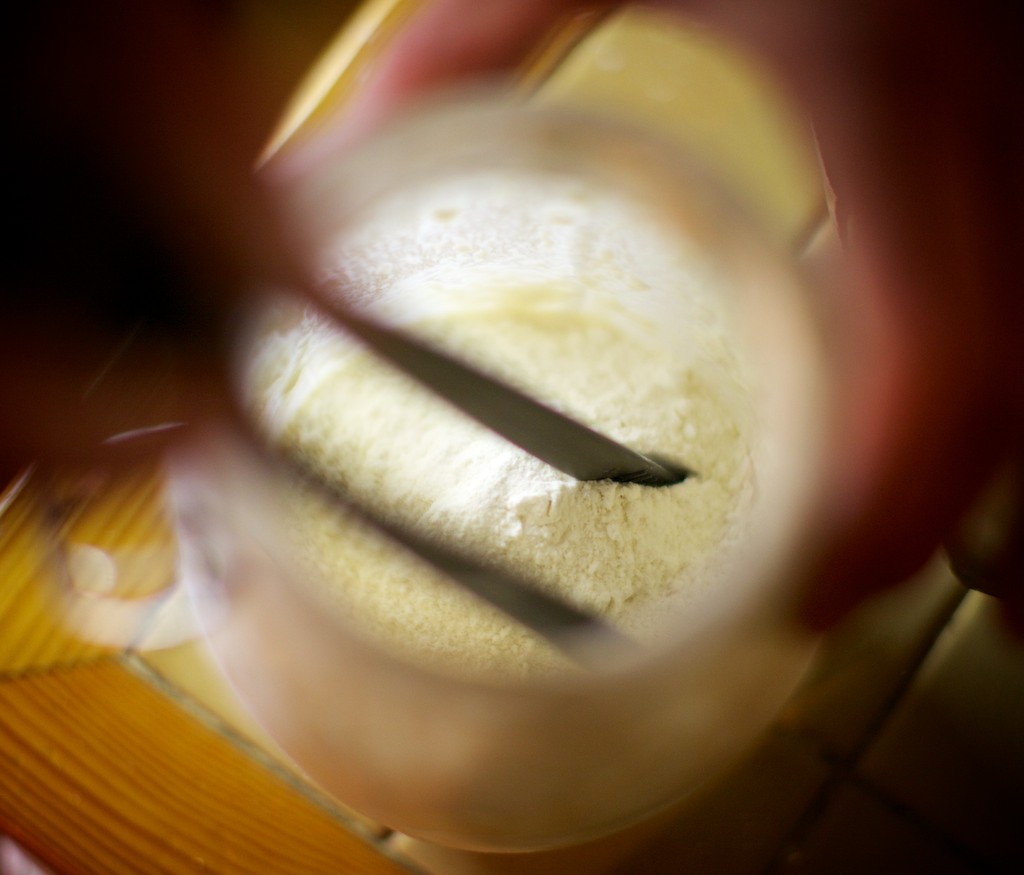
Add the first amount of flour to create the sponge.
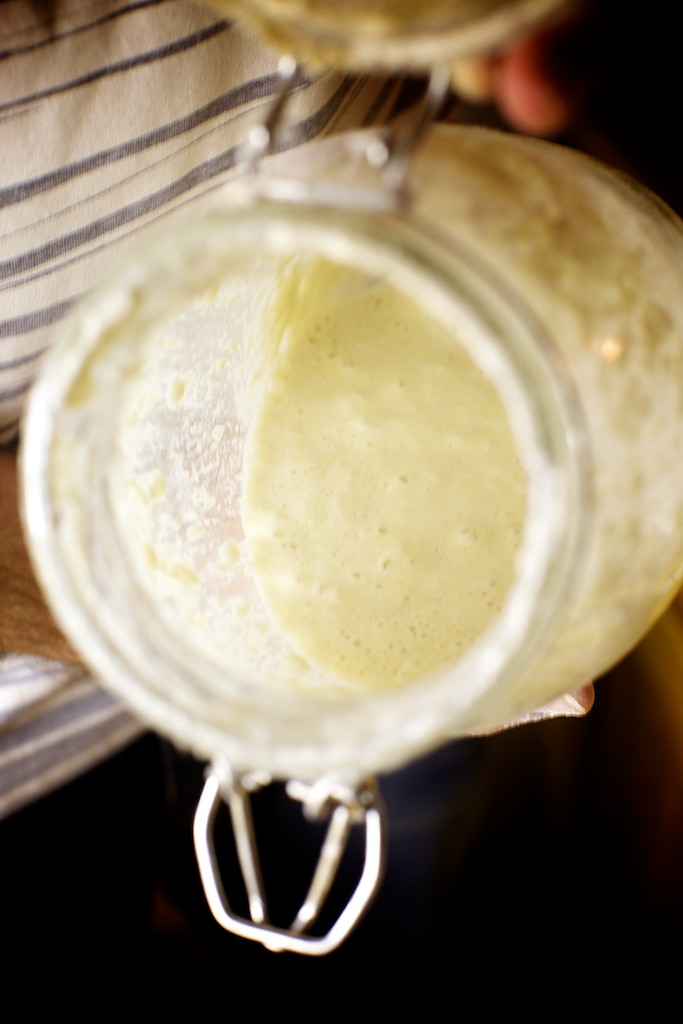
Frank (the sourdough starter) ready for action
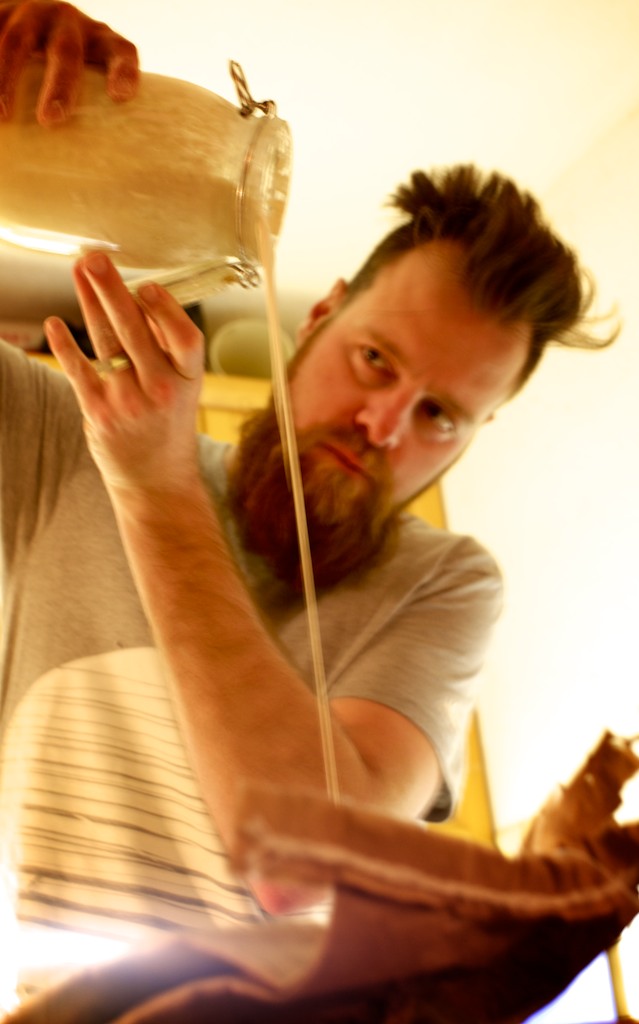
Adding Frank to the sponge
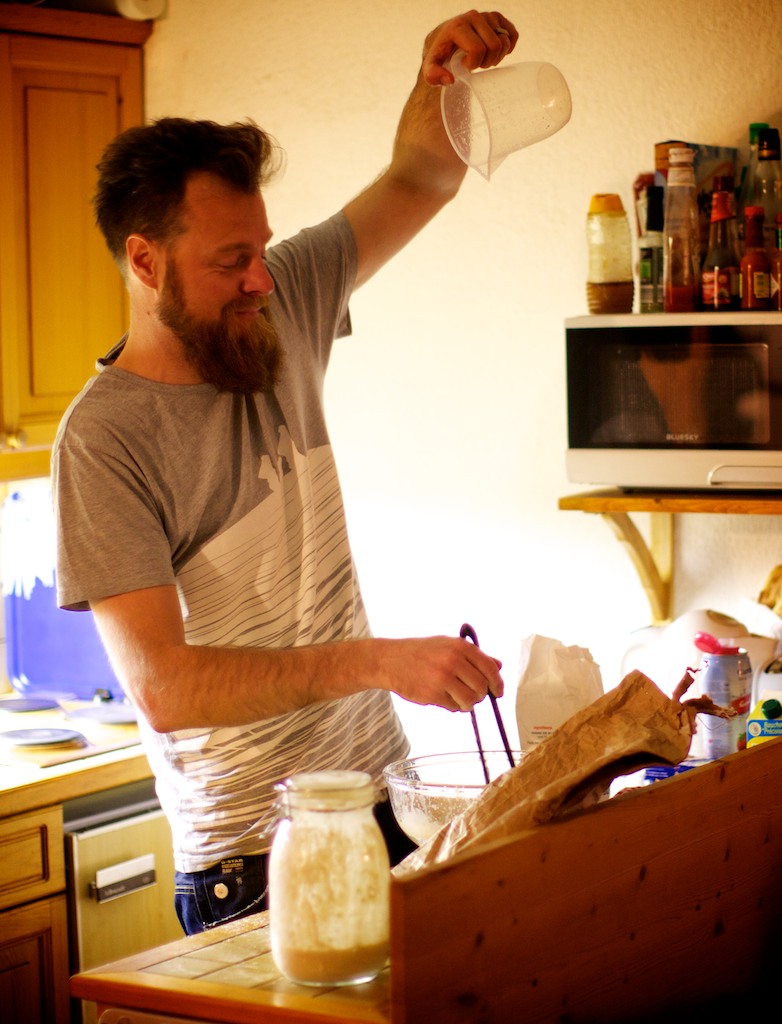
Add the water from as high as possible into the bowl preparing the sponge. I have found that a meter of height gives a really nice bubbly response but can cause quite a bit of mess. (sorry, only joking, you can add the water at any height…)
Feeding Frank with flour and water, and then he is put back out in the outdoor fridge to sleep

Mix the flour, water and Frank into a gooey mess and then cover in a plastic bag or with cling film. Leave to rest for 12hrs or so. You can put it in the fridge to slow the process if needed.
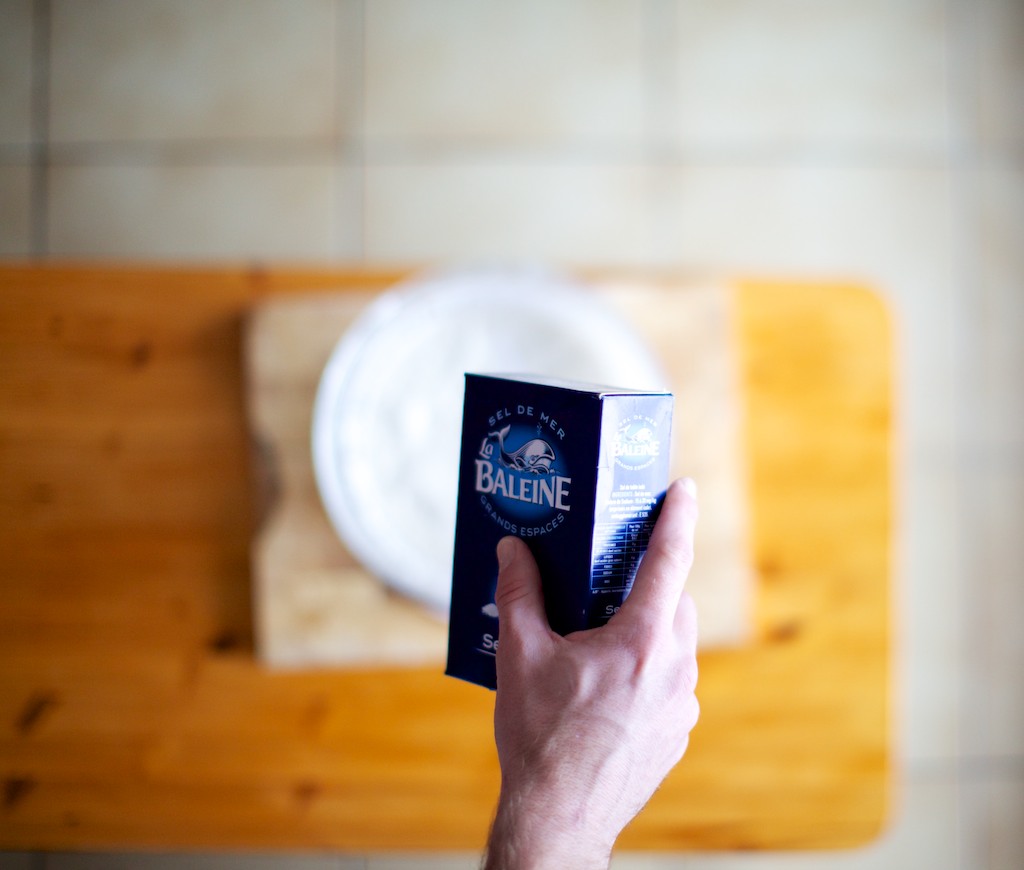
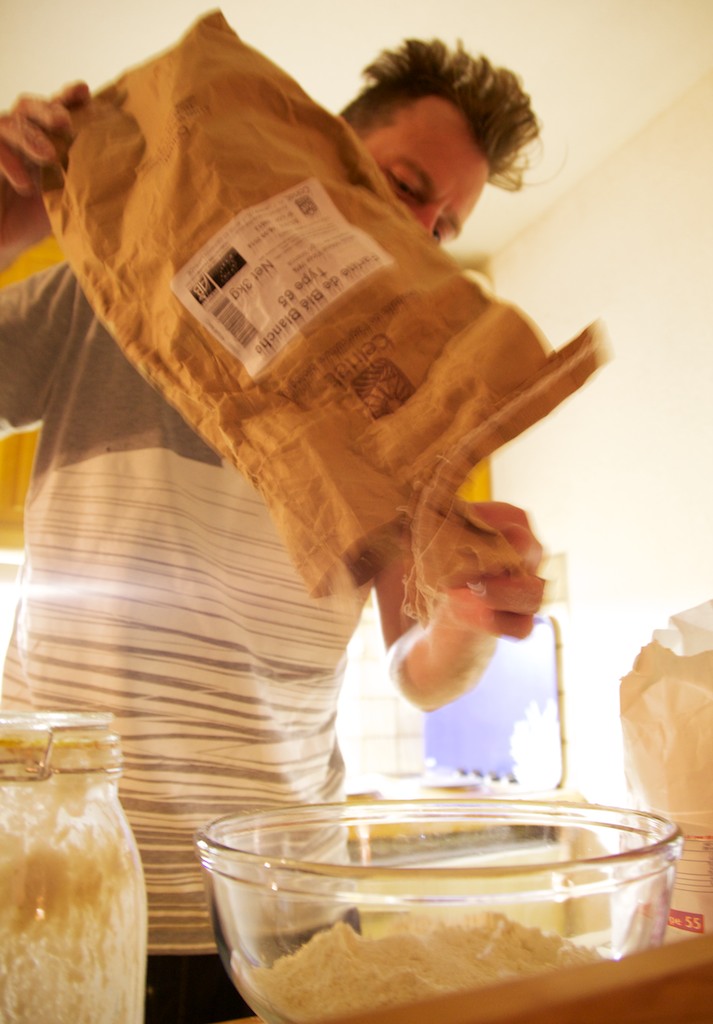
After the sponge has started to activate (it will start to get nice and bubbly on the surface – it depends on the warmth of the place you let it rest), the rest of the ingredients need to be added. Salt…
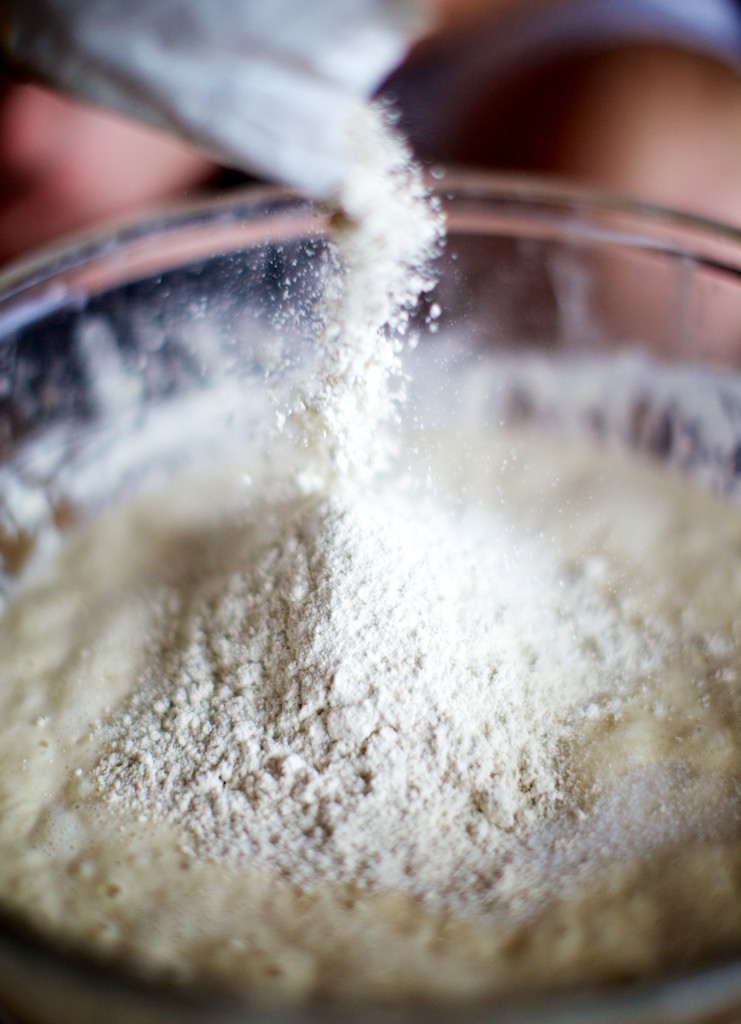
And flour… I tend to make the sponge with white flour (and also feed Frank with plain white) and then use different flours added at this second stage of making the dough. Mixtures of white, wholemeal, rye are great, and sometimes add seeds as well.
Mix all these ingredients until they start to form into a sticky dough. Tip the sticky dough onto a lightly floured surface.
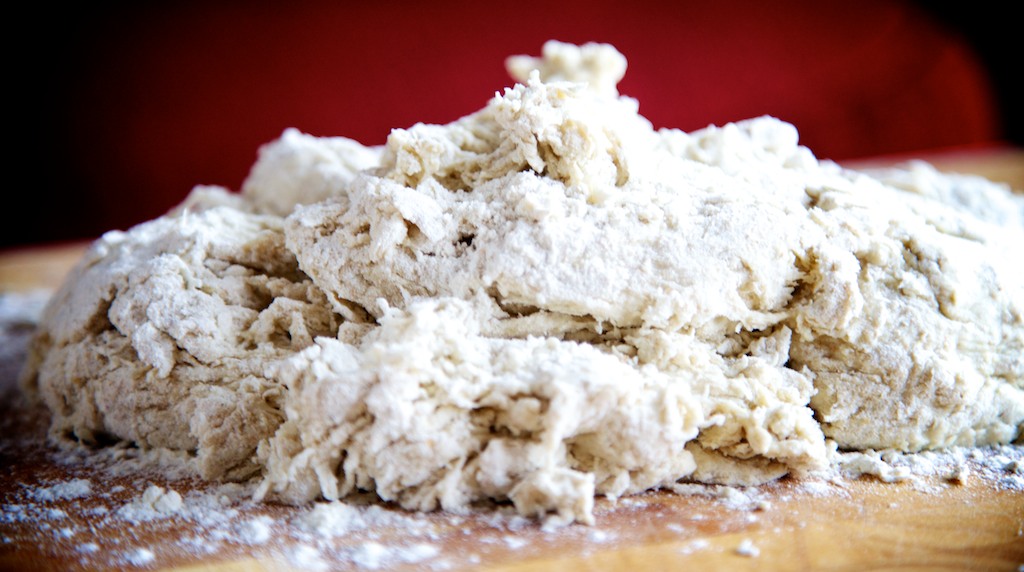
Sticky dough on floured surface ready for some serious kneading. Serious because it doesn’t quite come together and stays very sticky.
Starting the knead.
Mid-knead.
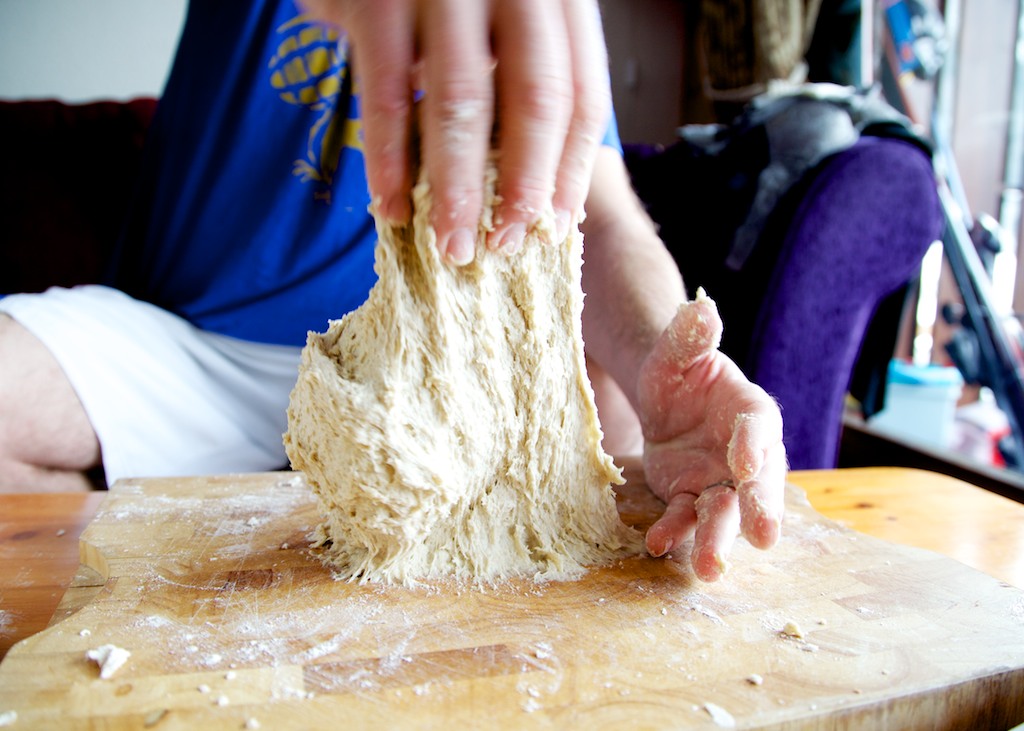
The end sticky constancy of the initial dough.

Clean the initial mixing bowl (or get a fresh one) and add a splash of oil.
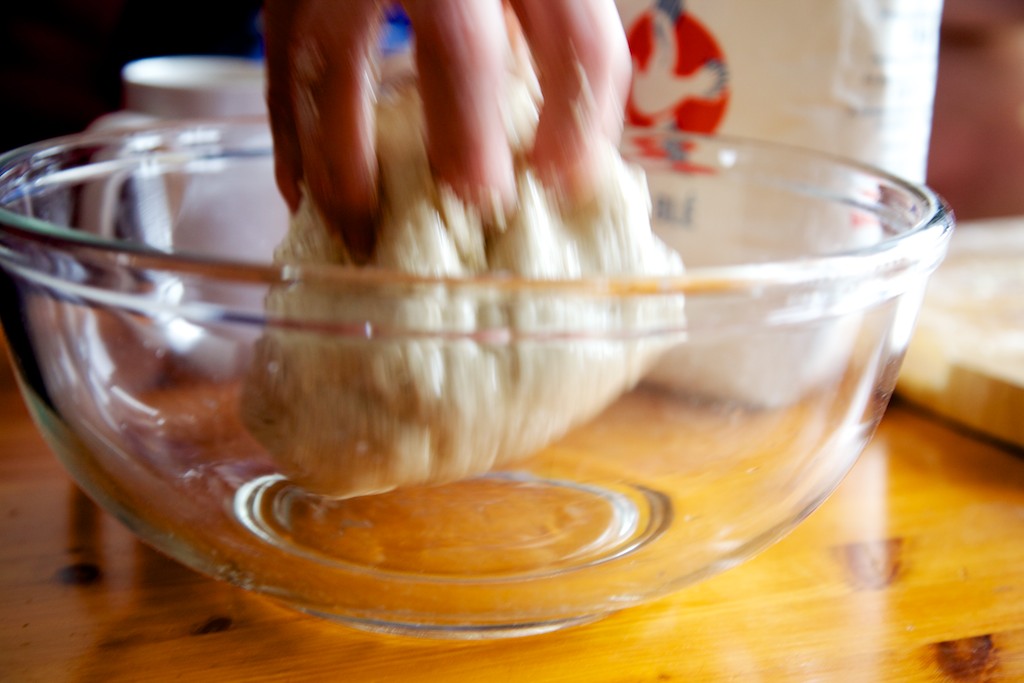
Roll the dough and cover completely with the oil, then cover and leave to rest again. As mentioned previously, this can be extended by retarding in the fridge.
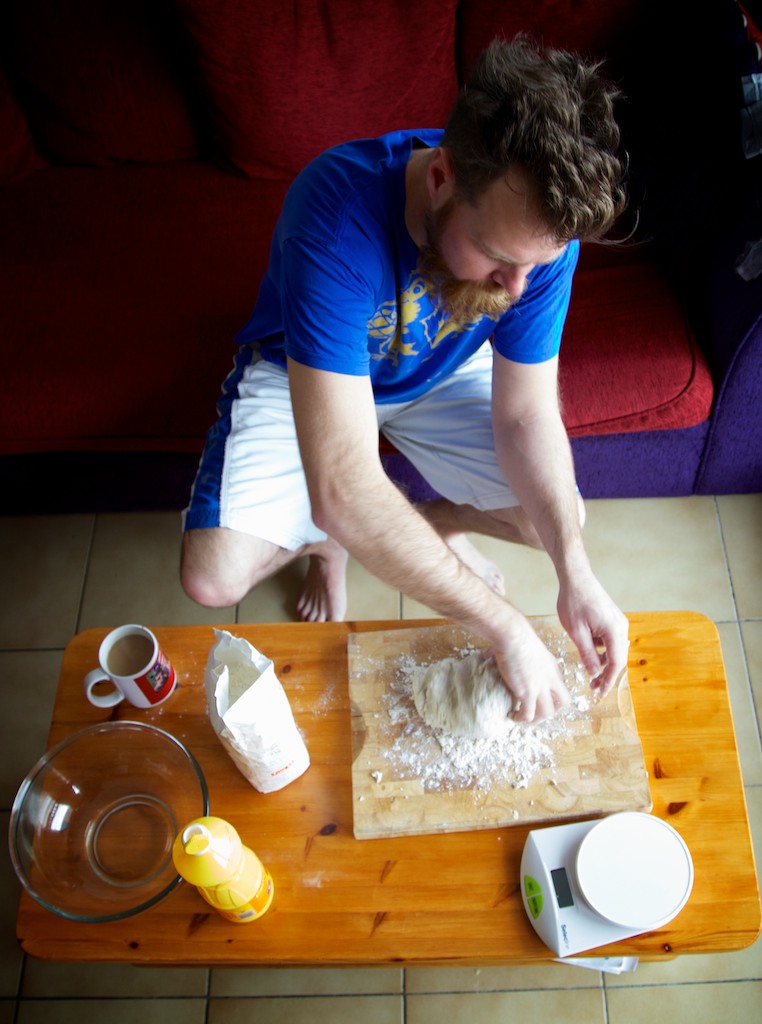
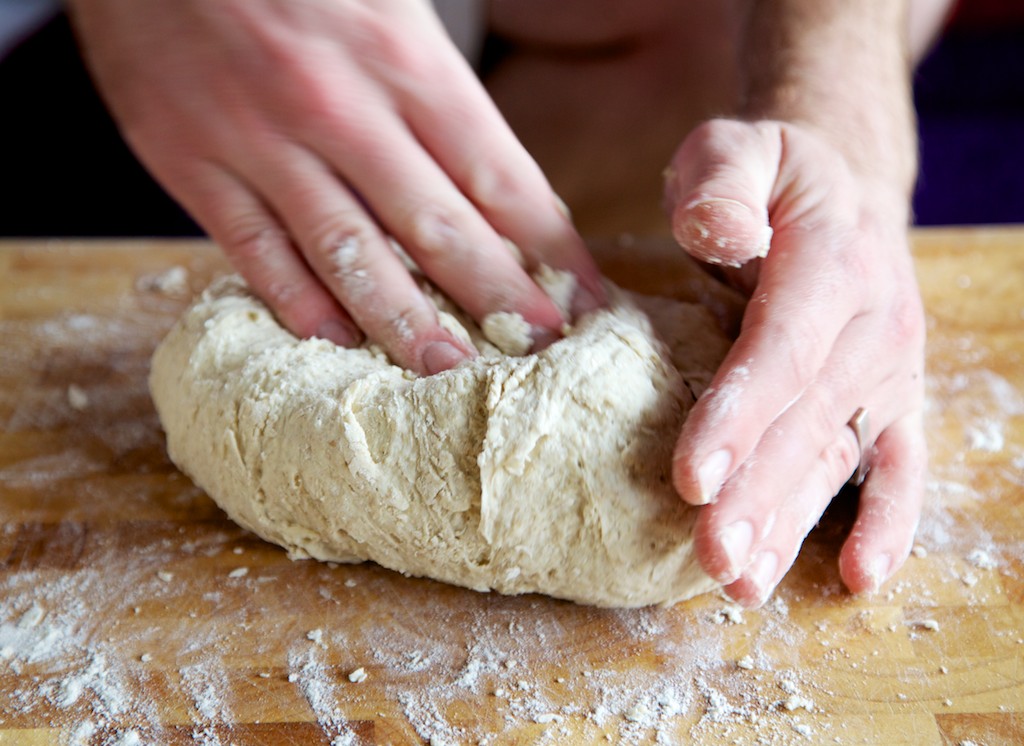
After it has risen in the oily bowl it can be knocked back and left to rise several times. I tend to not really bother with the knocking back so will just pull it out and give it a final need and then shape the final loaf. Daniel Stevens (River Cottage Handbook No.3 – Bread) suggests this movement of sliding the heal of the palm at the base of the bread. One hand forward, one back, spinning the loaf and slowly pulling down the sides to pull under the dough. It stretches the top surface and makes a very nice round tight dough. It took a good few attempts to get this process right, but when you have it, it makes a very nice, tight round ball.

It helps to have lightning fast reflexes, like a ninja, a bearded bread ninja…

Flour a banneton (rye is really good here as it tends to not get as wet and cause your dough to stick in the banneton) and place the final spun loaf tight, top side down. If you don’t have a banneton (we have been only using one for the last 6 months), you can use a colander with a tea towel placed in it. Flour the tea towel as above and place the dough in the middle. Dust a little more flour over the top and cover in the plastic bag or cover with a tea towel.

The final risen loaf ready for baking. Now get the oven ready… If using a baking stone, put this in a position that will allow you to place the loaf on. If you don’t have a baking stone, get the thickest tray that will hold the bread, and flip it upside down so that the lip is down and place as for baking stone. Put another tray, right way up in the bottom of the oven. Heat to the highest oven setting and get it as hot it will go. Boil the kettle. Pour into the bottom tray to create steam in the oven. And when the oven is as hot as it can be, and like a steamy sauna get the loaf onto a peel (or if you don’t have one, you will need to take the tray/baking stone out to load).
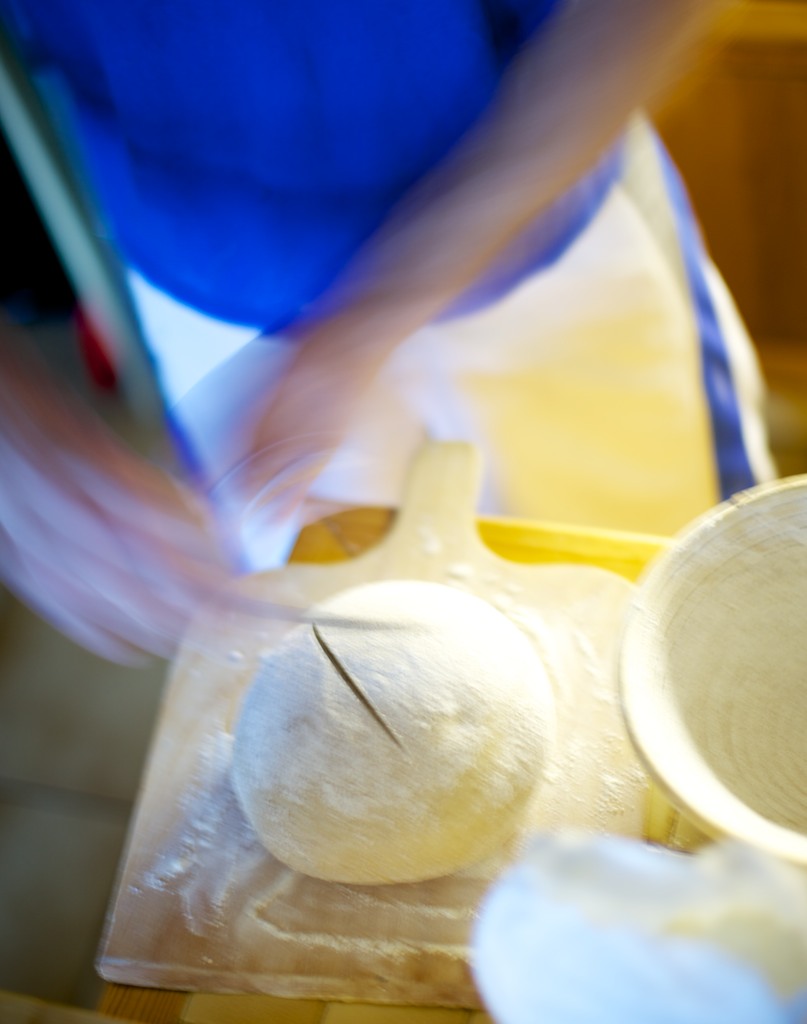
Finally, as the loaf is carefully placed onto the peel (or tray), slash the top of the loaf with a serrated knife (your choice, but I have gone for a simple cross here – I am trying to master a capital RB, but most loaves usually end up in little chopped pieces). Transfer as quickly as possible into the oven.
Timing can depend on many things. Oven temp, size of loaf, wind direction… But we have been giving it about 30mins for our above loaf size in the steamy, hot oven. Don’t open it before this as it can affect the final rise in the oven. After 30mins open the oven and take out the tray with boiling water and check the colour of the bread. If it is brown on top, you can drop the temperature down, if it isn’t leave it as it is.
Check on the bread in another 10mins and if it is looking nice and brown all over, you could take it out and give it a tap on the bottom. If you get a nice hollow sound it is done, if it is still a little doughy, you will need to put it in for another 5 or so minutes, or even flip it upside-down to get the bottom to cook through – (We need to do this with our little French oven, small but surprisingly hot). We thought we would never get to make bread in France with this little thing, but were impressed with the first attempt, but realised we needed to halve all our ingredients to fit (or make two loaves). The first attempt was rather forced into the oven, and then ended up spilling over the edges of the tray to make a very ugly (but still quite tasty) loaf.
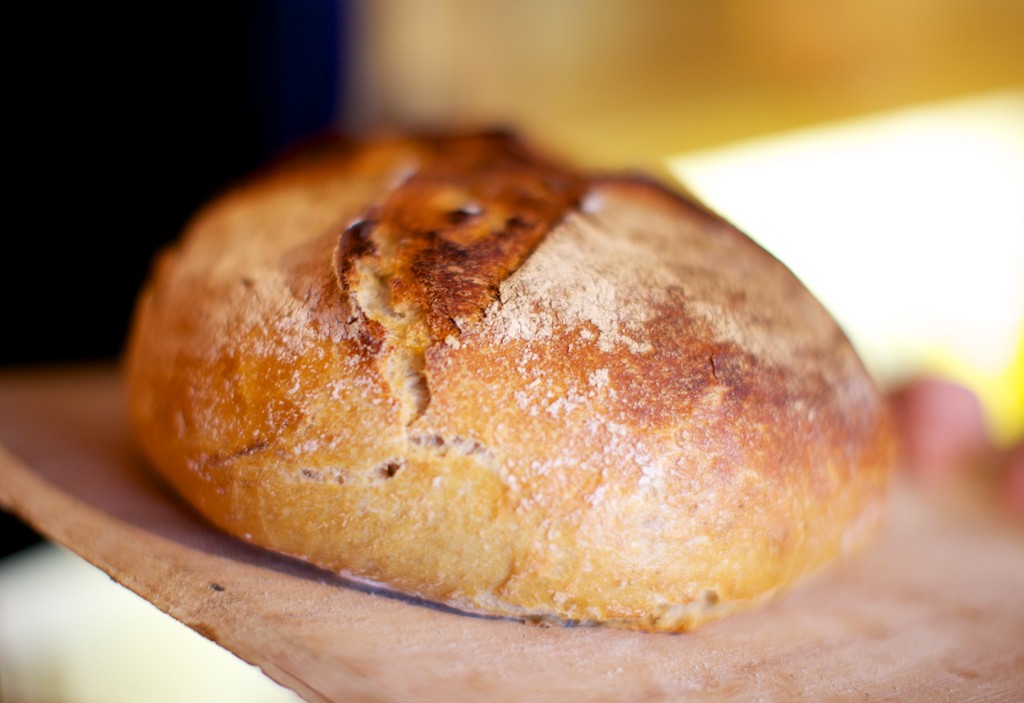
And the final product.
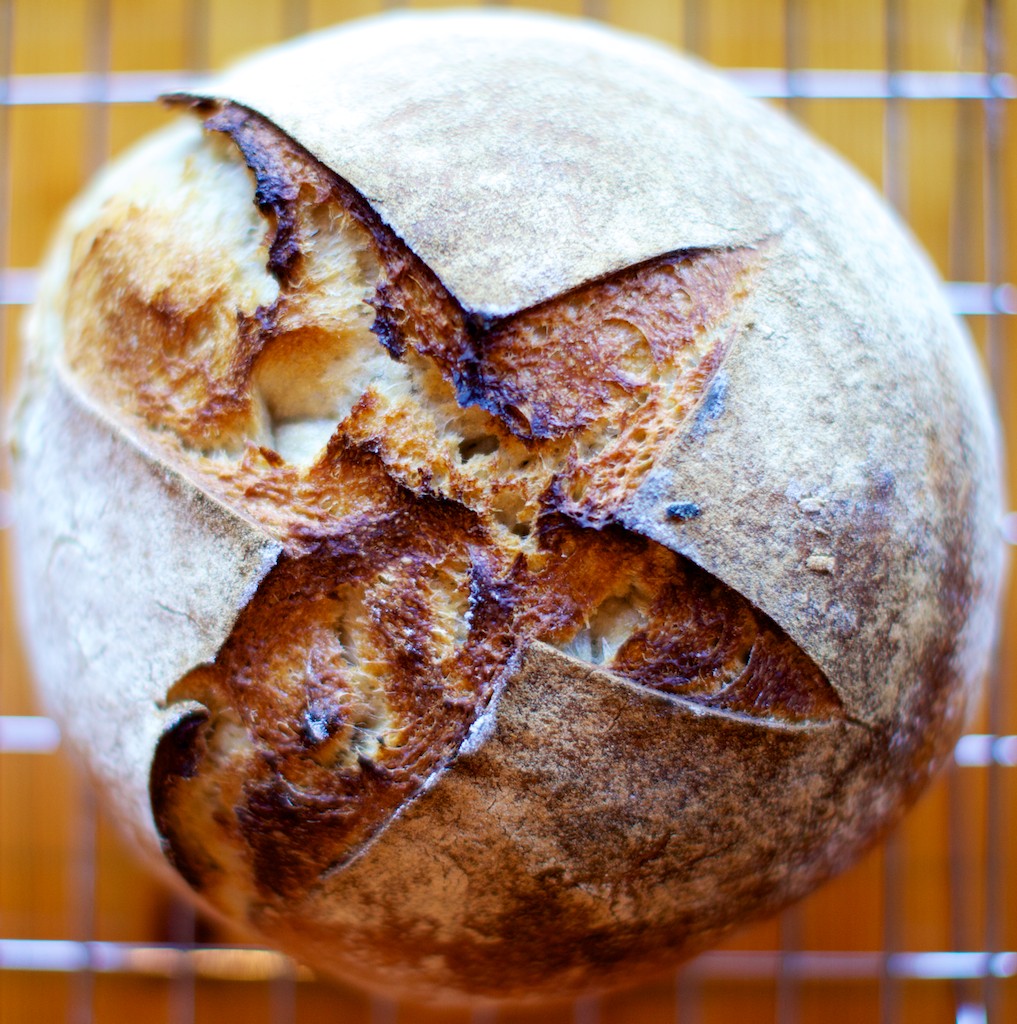
Aerial view of the loaf (the banneton gives nice little rings where the rye flour sticks to the bread as it rises or you could get creative with your tea towel placement in the colander).
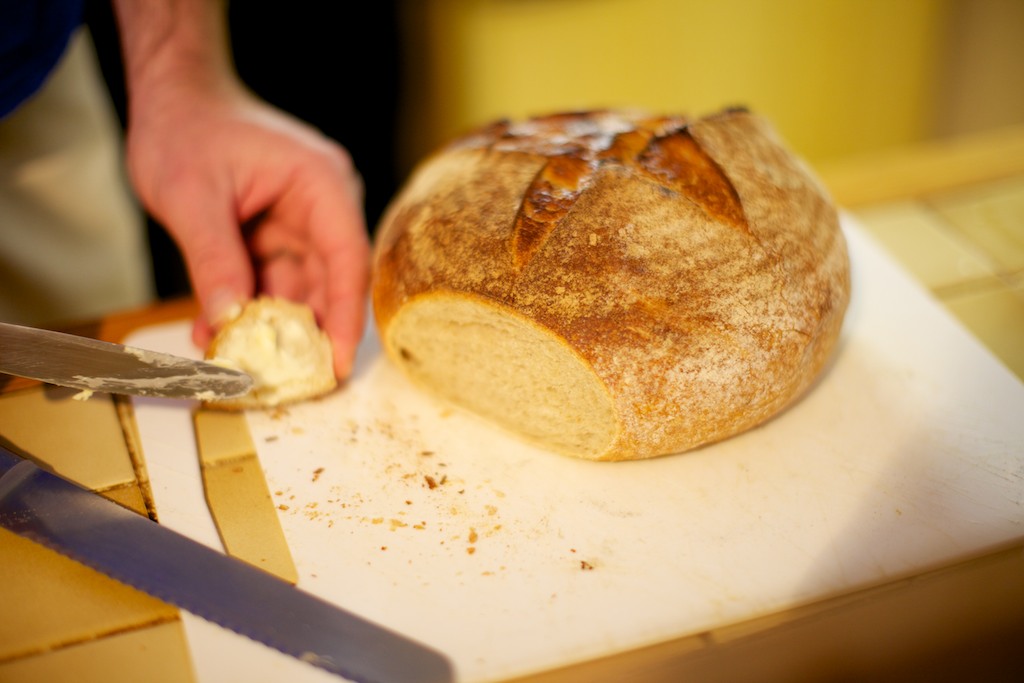
We have a tradition with our loaves. The very first time it is cut, the first slice is cut into pieces, layered with butter and shared with everyone in the house (that is awake). We call it the breaking of the bread, and it is certainly a nice way to taste any of the different flours/seeds/oats/nuts etc you might have added to try something a little different. Not a single recipient of the first slice has refused it yet… And most will ask for just one little slice more 🙂

Yum. I think? Hmmm, maybe I should try one little piece more…

MM must admit Robboy you are looking little like the Wild man of Borneo there!! but the loaf looks plain amazing!! of course! love AS.x
Saturday Kitchen have been on the phone and are asking if Mountain Man is available next month…..
Pingback: St Patrick’s Day Sourdough | robboy and jules adventures